Dock & Fish Stand Guide: Slots, Equip Best, and Collection Points
The dock is your factory floor: place fishermen on slots, collect fish piles, display on the stand, grab Cash piles. Plus Equip Best and the pickup hammer.
FAQ
How do I remove a placed fisherman?
Does Equip Best fill the dock automatically?
What is the difference between the dock and the stand?
The dock: where production lives
The dock is your factory floor. The rules are short:
- Placed fishermen only produce. A fisherman in your inventory earns nothing; on a dock slot, they fish forever.
- Manual fishing also happens on the dock — try to fish elsewhere and the game tells you it must be on the dock.
- Fish piles accumulate behind each fisherman as their bucket fills. Starting fishermen hold only 2 fish per bucket, so early piles need frequent collection — about every 30 seconds, by community consensus as a rhythm reference rather than a rule.
- Slot count is your first capacity wall. Rebirth grants dock expansion and +1 fish slot per reset; the rebirth guide has the thresholds.
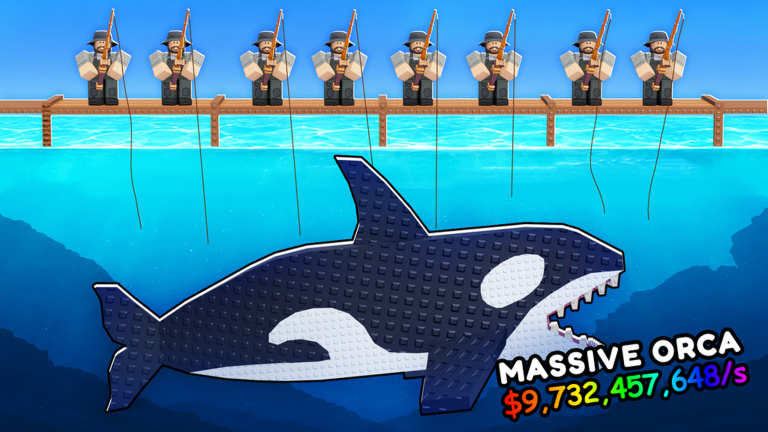
One per slot, all lines wet. Image: Roll a Fisherman © FISH X SPEEDI / Roblox.
The stand: where Cash lives
Every collected fish has two fates: sell it once, or display it on the stand, where it produces Cash continuously — including while you are offline. That second path is the game’s headline feature; the display criteria and the collectible-copy rule live in our trading guide.
Three collection points
Your base pays out in three places, and knowing them saves walking:
- Fish piles behind placed fishermen — collect and carry to the stand or sell point.
- Cash piles around the base — pick up on sight, they are yours.
- The sell point — a dedicated station for one-time sales, with a “Teleport to Sell” shortcut reported by players.
One quirk worth knowing: a player reported the sell button not responding while standing on the dock, working again after stepping off. Unconfirmed, but if selling ever feels frozen, move first and retry.
The two buttons that matter
Equip Best auto-fills your slots with the strongest fishermen — and needs to be applied on the fishermen tab and the fish tab separately. Run both after every good roll; the fishermen list explains what “strongest” means at each stage.
The pickup hammer removes a placed fisherman back to your inventory. Replacement is the dock’s only growth path — fishermen do not level up in place, so out with the weak, in with the strong, guided by the price and luck table in the fishermen list.
Pre-logoff dock routine
Tie the dock into the offline checklist: fill every slot (Equip Best ×2), confirm buckets are filling, clear inventory and storage, and protect rare fish from bulk selling. The full routine is in the offline earnings guide — the dock is the machine that runs your night shift, so leave it running.
Related Articles
guides
Roll a Fisherman Trading Guide: The Stand Loop and What to Display
Trading in Roll a Fisherman runs through your fish stand: display surplus rare fish for continuous Cash, keep collectible copies, and never list your rebirth fish.
guides
Roll a Fisherman Beginner Guide: First Roll to First Million
The complete Roll a Fisherman beginner guide: redeem codes first, roll fishermen, fill every dock slot, use Equip Best, and reinvest Cash the way the loop rewards.
guides
7 Roll a Fisherman Mistakes That Cost You Millions
Community-verified anti-patterns: empty dock slots, speed before capacity, mutated trash fish, auto-sell eating rebirth fish, and the rest of the expensive list.
Was this helpful?
Thanks for the feedback!